03. Including code
There are three basic components of an R Markdown document: the metadata, text and code.
The metadata comes at the start of the document and is written between a pair of three dashes: ---.
The syntax for the metadata is YAML (YAML Ain’t Markup Language, formerly Yet Another Markup Language) and is also called the YAML metadata or the YAML frontmatter.
Importantly, YAML is indentation sensitive!
This means if the indentation is not right, you’ll get an error when you try to compile the document. For this reason, I’d generally suggest copying YAML elements you want from one document to another, or using templates/snippets, especially when you’re just getting started. See section 1 for some examples of YAML headers
Following the metadata is the body of the document. The syntax for the body is Markdown (see this page for details on that).
For the code, there are two types which can be included:
- A code chunk, which start with three backticks like
```{r}, wherersets the languaged used (despite the “R Markdown” name, R is not the only language we can use!), and ends with three backticks``` - An inline code expression starts with a single backtick like
`r, and ends with another backtick`
See section 2 for more details on including code
The YAML header
Below is an example of a minimal YAML header:
---
title: "Hello R Markdown"
author: "Awesome Me"
date: "2018-02-14"
output: html_document
---

And our document body starts here
In the above example we have 4 key-value pairs, where the keys are specific elements of the metadata, and the values are what they should be set to. Now here’s another example:
---
title: "Hello R Markdown"
author: "Awesome Me"
date: "2018-02-14"
output:
  html_document:
    # Here we enable a table of contents in the html output
    toc: true
  pdf_document:
    keep_tex: true
---
Notice the indentation!!!
It’s not just for show. The document won’t compile if the indentation isn’t right, so be mindful of that when playing with the YAML. Also notice that we can have comments in the YAML too, which can be great for reminding yourself what an option does when getting started.
I’d suggest playing around with the templates to explore further options, but here is one of my preferred starting YAMLs:
---
title: Our groundbreaking analysis that will lead to world peace
author:
   - name: John, the Problem Solver
     affiliation: Get Shiz Done University
   - name: Jack, the Supposed Contributor
     affiliation: Living Room Couch
date: "2022-08-19"
abstract: |
 A great summary of our awesome paper!
 <br><br><br>
output:
  html_document:
    # Set the highlight colour to a nice orange
    highlight: tango
    # I like my sections numbered
    number_sections: true
    # There are lots of nice built in html themes you can use!
    theme: united
    # enable the table of contents
    toc: true
    # and make it float, so it'll follow us around the document
    toc_float:
      # Only show top level headers until we click on them
      collapsed: true
    # add a button to download the .Rmd source
    code_download: true
    # add the option to hide code for those who don't want it
    code_folding: show
    # make data frames display a bit nicer
    df_print: paged
  pdf_document:
    toc: false
# set the bib file for references
bibliography: /path/to/bib_file.bib
---
For a preview of the html themes see here
Note that this is an aspect that differs slightly in Quarto.
The main difference is the change of the output: key to format:, and the removal of _document so html_document becomes html in Quarto.
They have also changed the _ to - so number_sections: becomes number-sections:
Here is the above YAML in a Quarto format:
---
title: Our groundbreaking analysis that will lead to world peace
author:
   - name: John, the Problem Solver
     affiliation: Get Shiz Done University
   - name: Jack, the Supposed Contributor
     affiliation: Living Room Couch
date: "2022-08-19"
abstract: |
 A great summary of our awesome paper!
 <br><br><br>
format:
  html:
    number-sections: true
    theme: united
    toc: true
    toc-float:
      collapsed: true
    code-folding: show
  pdf:
    toc: false
# set the bib file for references
bibliography: /path/to/bib_file.bib
---
Also note that some old keys don’t exist and some new keys are present in Quarto.
Code chunks and inline code
With code chunks we can produce text, tables or graphics. Importantly, we can also control these code chunks by providing various chunk options within the curly braces:
```{r, chunk-label, results='hide', fig.height=4}
The value of a chunk option can be an R expression, which can let us do some neat stuff like setting a code chunk to only evaluate for certain kinds of outputs:
```{r, conditional-output, eval=!is_latex_output()}
x = rnorm(100)
```
So the above chunk will only be evaluated if the output is not LaTeX (for producing pdfs)
You can find documentation for the various chunk options at https://yihui.name/knitr/options
The chunk label is optional, but should be the first option in the chunk header if used.
Chunk labels can be useful for troubleshooting, as the label will be printed with any error in a particular chunk when knitting which can help pinpoint the issue.
It is strongly recommended that one only used alphanumeric characters (a-z, A-Z and 0-9) and dashes (-) in labels as any other characters may cause issues depending on the output format.
If a certain chunck option needs to be used in a lots of chunks, you can set the option globablly in the first code chunk:
```{r, setup, include=FALSE}
knitr::opts_chunk$set(echo = FALSE, fig.width = 8)
```
You can also refer to R objects in text like so:
```{r}
data <- rnorm(10) # some random data
```

The data had a mean of `r mean(data)`,
and a standard deviation of `r sd(data)`.
Note that chunk options are another area where Quarto differs. It is backwards compatible with the R Markdown syntax I’ve shown above, but the prefered method is to include the options in the body rather than the heading like so:
```{r}
#| label: load-packages
#| include: false
library(tidyverse)
```
The . separator is also a - in Quarto, so fig.cap= becomes fig-cap:
Figures
Any figures produced from R code will be placed immediately after the code chunk they are generated from by default.
So the following:
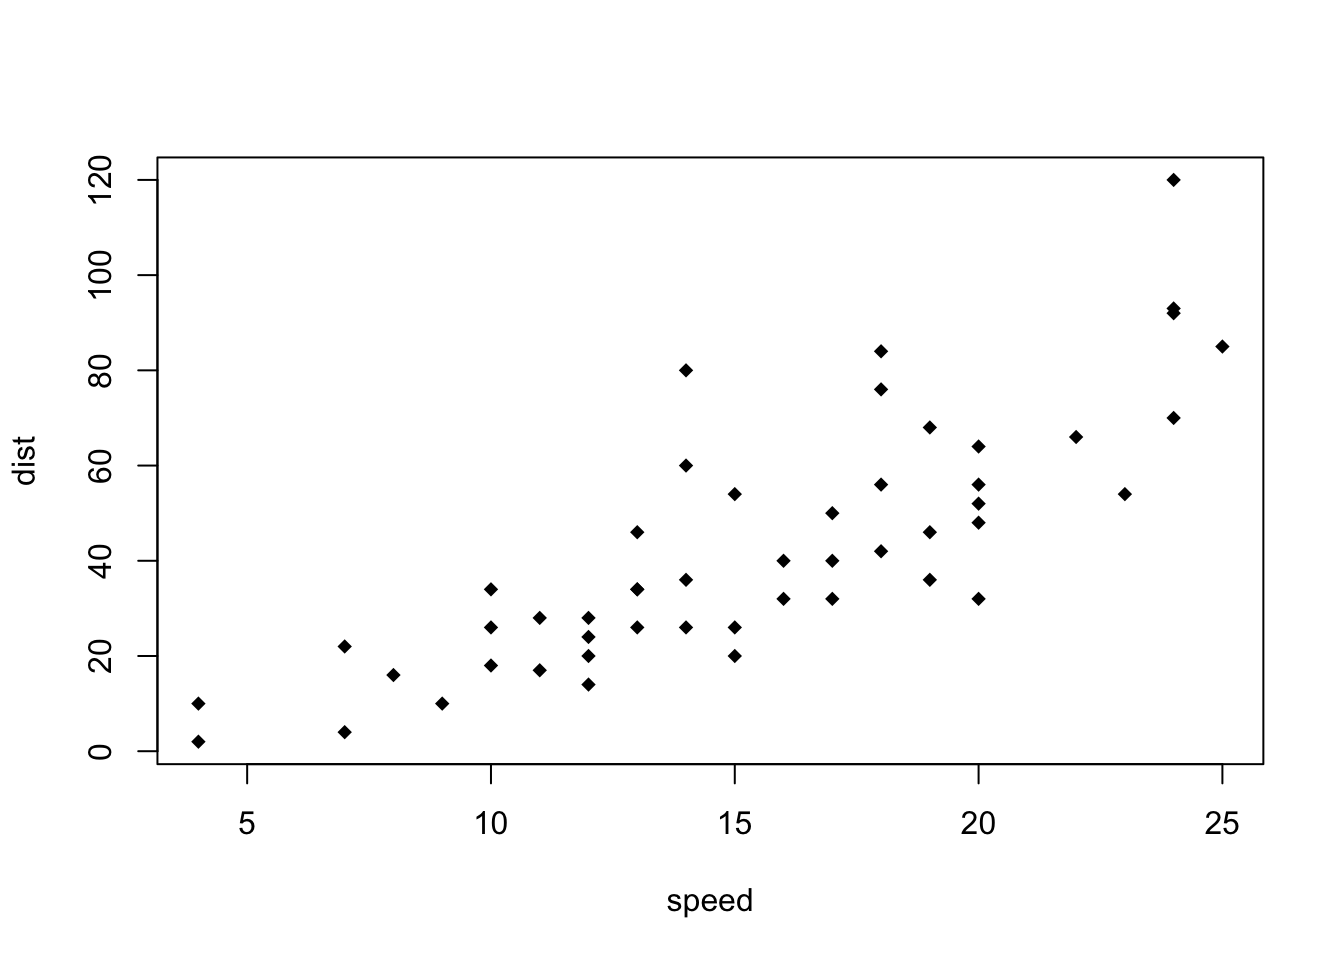
```{r}
plot(cars, pch = 18)
```
looks like this (note that I’ve hidden the code in the output by setting echo to FALSE’):

PDF documents are generated through the LaTeX files generated from R Markdown.
By default, LaTeX figures are set to float by default, so even if you generate a plot in a code chunk on the first page, the whole figure environment may float to the next page.
Although this can be annoying, it’s generally recommended that you ignore this until you finish your wirtting of the particular document.
Otherwise you can end up spending loads of time trying to get a figure just right, only for it to be shifted as you continue to edit the remaining content.
You may wish to fine-tune the positions once the content is complete using the fig.pos chunk option (e.g., fig.pos = 'h'). See https://www.overleaf.com/learn/latex/Positioning_images_and_tables for possible values of fig.pos and more general tips about this behaviour in LaTeX.
par(mar = c(4, 4, .2, .1))
plot(cars, pch = 19)
plot(pressure, pch = 17)
If you want to include a graphic that is not generated from R code, you may use the knitr::include_graphics() function, which gives you more control over the attributes of the image than the Markdown syntax of  (e.g., you can specify the image width via out.width).
```{r, out.width='25%', fig.align='center', fig.cap='The R Markdown hex logo.'}
knitr::include_graphics('images/hex-rmarkdown.png')
```
Figure captions
I showed how to include a figure caption as a chunk option above, but you can also define a caption outside of the chunk in order to take advantage of the markdown formating:
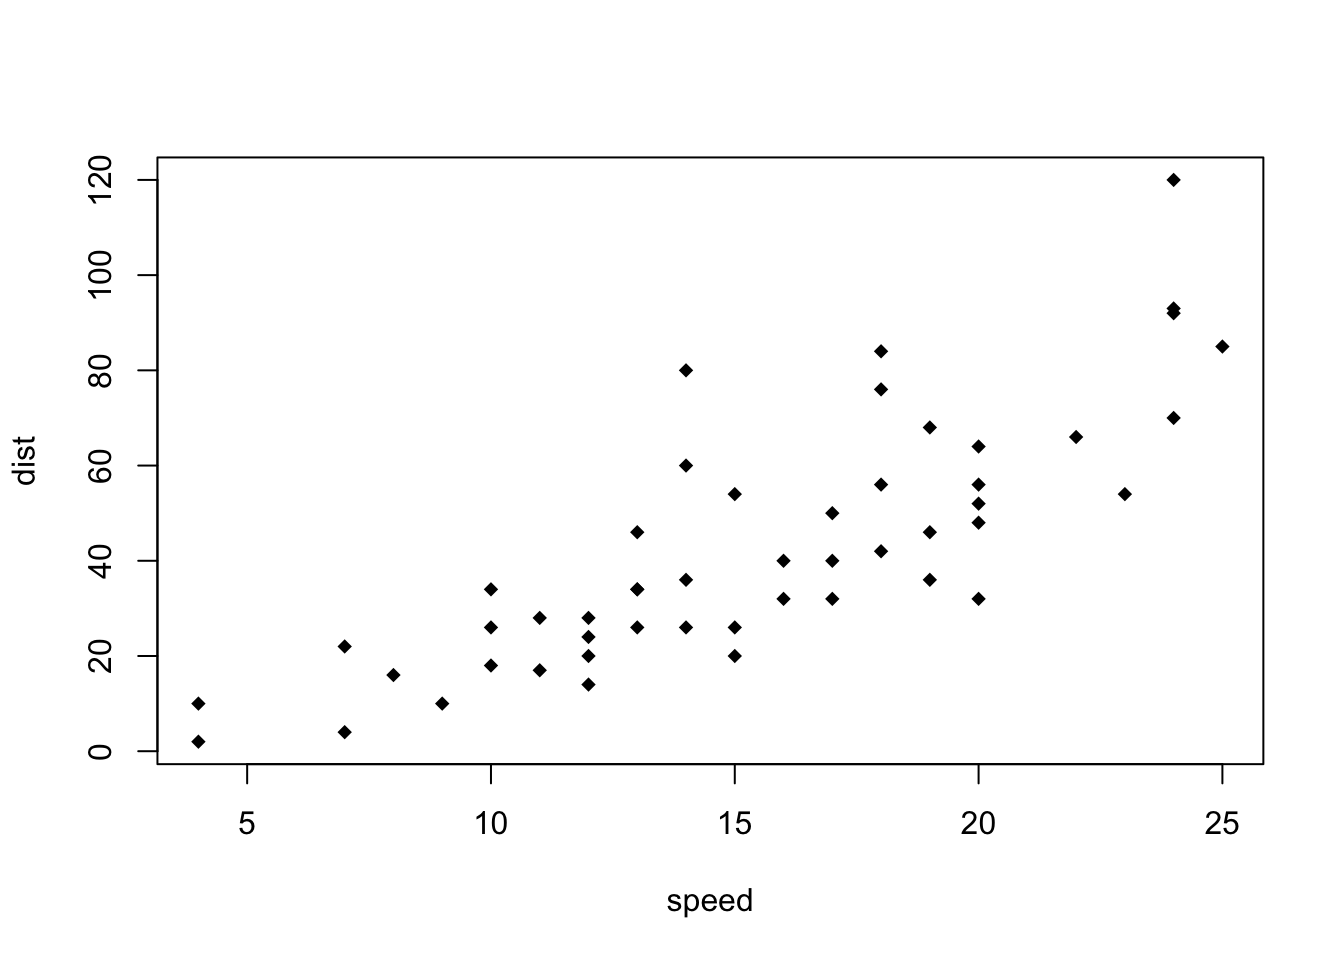
```{r, external-caption, fig.cap= '(\ref:external-caption)'}
plot(cars, pch = 18)
```
Note that the \ in fig.cap is only added to stop R Markdown rendering the content of the reference, you shouldn’t include the \ if you use this yourself!
Which looks like this:
I’m outside the chunk! I can have formatting and stuff. I’m outside the chunk! I can have formatting and stuff.
plot(cars, pch = 18)

Figure 1: I’m outside the chunk! I can have formatting and stuff.
Tables
There are several packages for producing tables, but the simplest and most compatible with every output type is via knitr::kable():
```{r tables-mtcars}
knitr::kable(iris[1:5, ], caption = 'A caption')
```
| Sepal.Length | Sepal.Width | Petal.Length | Petal.Width | Species |
|---|---|---|---|---|
| 5.1 | 3.5 | 1.4 | 0.2 | setosa |
| 4.9 | 3.0 | 1.4 | 0.2 | setosa |
| 4.7 | 3.2 | 1.3 | 0.2 | setosa |
| 4.6 | 3.1 | 1.5 | 0.2 | setosa |
| 5.0 | 3.6 | 1.4 | 0.2 | setosa |
Table 1: A caption
Tables in non-LaTeX output formats will always be placed after the code block.
For LaTeX/PDF output formats, tables have the same issue as figures: they may float.
If you want to avoid this behaviour, you will need to use the LaTeX package longtable, which can break tables across multiple pages.
This can be achieved by adding \usepackage{longtable} to your LaTeX preamble, and passing longtable = TRUE to kable().
If you are looking for more advanced control of the styling of tables, you are recommended to use the kableExtra package, which provides functions to customise the appearance of PDF and HTML tables. Formatting tables can be a very complicated task, especially when certain cells span more than one column or row. It is even more complicated when you have to consider different output formats. For example, it is difficult to make a complex table work for both PDF and HTML output. This can be annoying, but sometimes you may have to consider alternative ways of presenting data, such as using graphics.
